I love it when the boss gives me a break from routine landscape maintenance with small tasks. Like plugging up a hole next to a drive way with rock. Or getting coffee and muffins for the crews to warm them up before they hit a huge strata (multi-family) complex.
Cedar planting
The best job was replacing one dead cedar (Thuja occidentalis ‘Smaragd’) in a privacy hedge. Dead cedars can’t be tolerated on site; just like diseased and damaged plants.
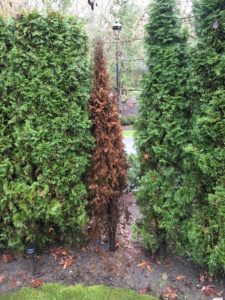
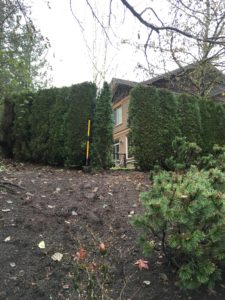
Here are the few easy steps you can take to solve this problem.
Solution
Step 1
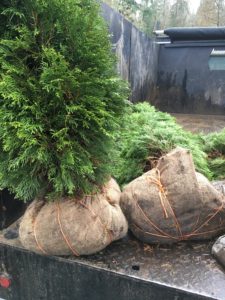
Buy the best stock at a decent price and handle the cedar by the root ball, not by the stem, to prevent damage.
Step 2
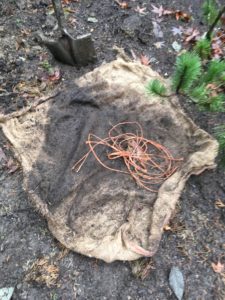
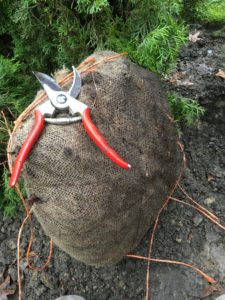
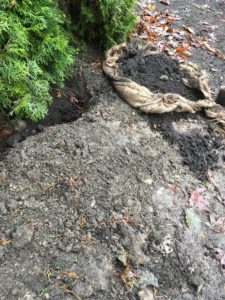
Remove all strings and burlap. This is the best policy: only the plant should go in the planting hole. Always. If you’re still not sure, Google the work of Dr. Linda Chalker-Scott.
Step 3
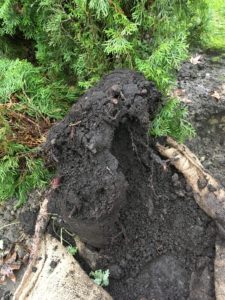
As you remove the burlap you will lose soil from the root ball. Don’t panic and keep it for later. By far the best planting practice is bare-root but with limited time I faked it. I didn’t wash off all of the soil from the root ball because most of it fell off.
Step 4
Dig a decent hole and make sure the root flare is above ground. I suspect the dead cedar was either planted too deep or it settled after planting.
Key: backfill the hole with the native soil you just dug up, not with the black soil that fell off the root ball. This is critical. If you backfill with fluffy new soil, water will easily penetrate into your planting hole and your cedar will turn into a joystick; and it will most likely fall over.
I’ve seen this happen years ago in North Vancouver. Don’t do it.
Key: backfill the hole to about halfway and pack it in with your hands to anchor the cedar. Then backfill the rest.
Step 5
In step 5 we top-dress with the beautiful black soil from the burlap ball and then we water gently with a slow stream. Of course, I know it’s November on the rainy West Coast but it doesn’t matter. Water the cedar in gently and make sure it gets adequate moisture so it can establish. Cedars are thirsty in their first year. Baby them a little bit.
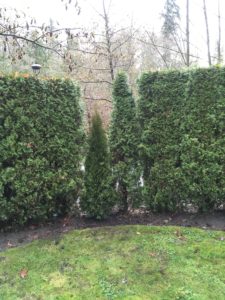
All done
The dead cedar is gone and privacy is restored to the owner’s patio area. And it didn’t take long, plus it wasn’t expensive. The final step is removing all garbage and tools; do a courtesy clean-up blow, if required.
