FutureLearn
I learned how to properly re-pot house plants from a gardening course I completed recently. I took the course online through FutureLearn. And since it’s part of the ExpertTrack, there was a fee involved and I paid it happily.
That’s because the teacher happens to be the BBC Gardeners’ World magazine editor; and I buy the magazine occasionally at Chapter’s Indigo.
One huge takeaway from the course was a lesson on houseplant re-potting. If you’re too busy to finish reading this blog post, I will tell you the secret right now: the old pot should just fit into the new one, with one finger width separating the two pots. That’s it.
Now, I currently only own four house plants and two happen to have prickles. But in the past I assumed that re-potting should happen with much bigger pots. It turns out, that’s not the case. Re-potting into a much larger pot means that the roots go straight down and the plant isn’t as stable.
Vas goes for it
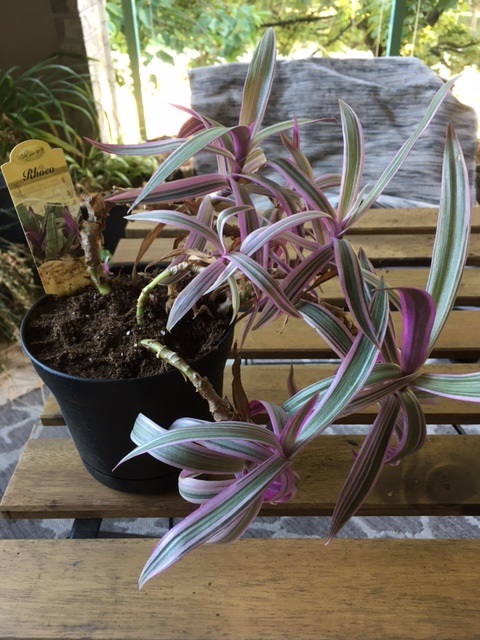
As soon as I finished the gardening course, I stopped by Canadian Tire because I also had a new car battery to buy. Now, I care about my houseplants but not about the pots. Except, one black pot looked awesome because it was made from recycled ocean plastics. Wow! Four dollars well spent.

Step one: the old pot should just fit into the new one. Don’t buy a giant new pot.
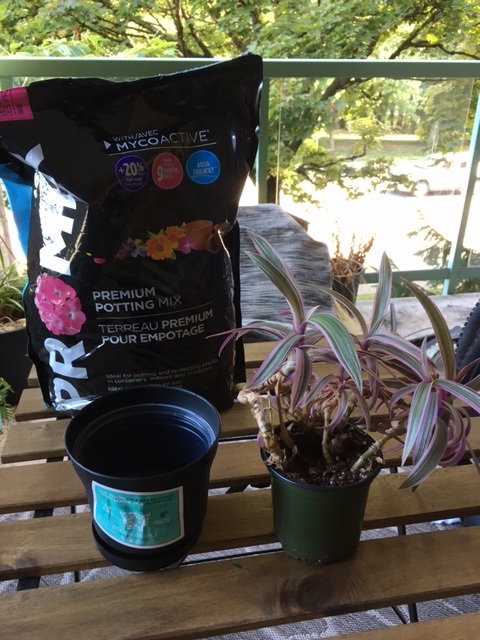
Step two: move the plant into its new pot gently.
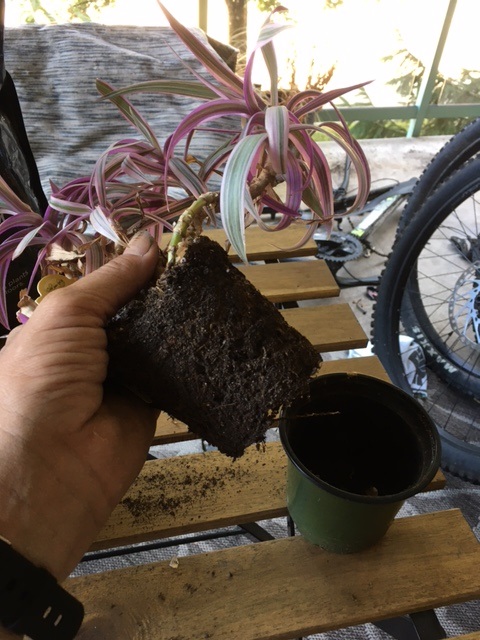
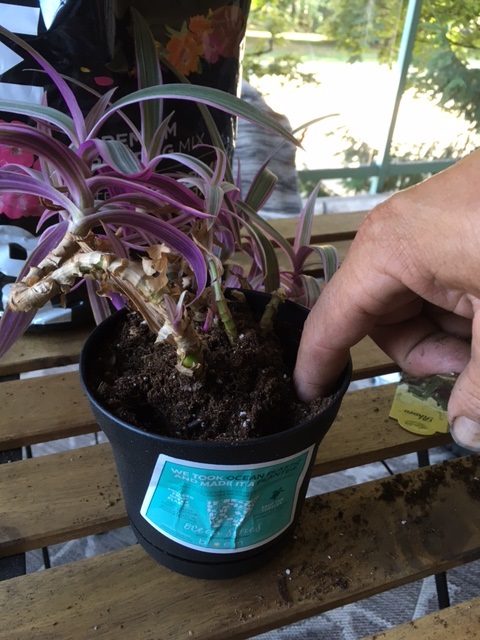
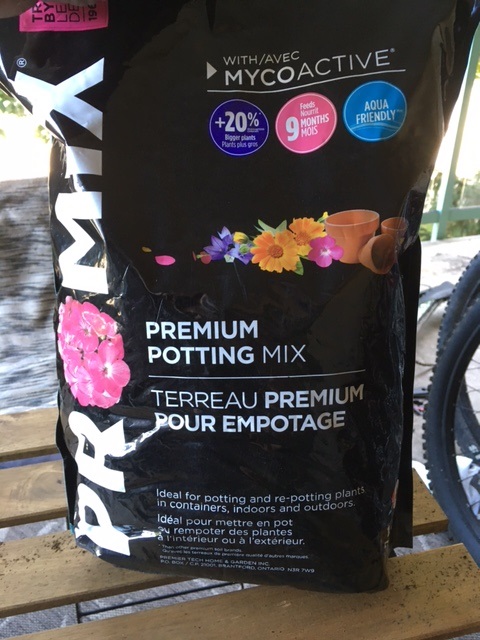
Step three: add good soil media. I already had a bag ready from an earlier visit to Home Depot.
Step four: enjoy your new plant. Don’t forget to add water and check the tag. I actually had the plant by the window in direct sunlight which isn’t recommended. So it’s now on my desk. I might get some fertilizer later but I have no intention of consuming any parts of the plant.
Conclusion
Re-potting houseplants is actually easy: the size difference between the old and new pots should be the width of your finger. Don’t repot into a huge pot. Now you know!

